

Setup
1
Open your integration settings
In Salesbricks, navigate to Settings -> Integrations and find the Finance / ERP section.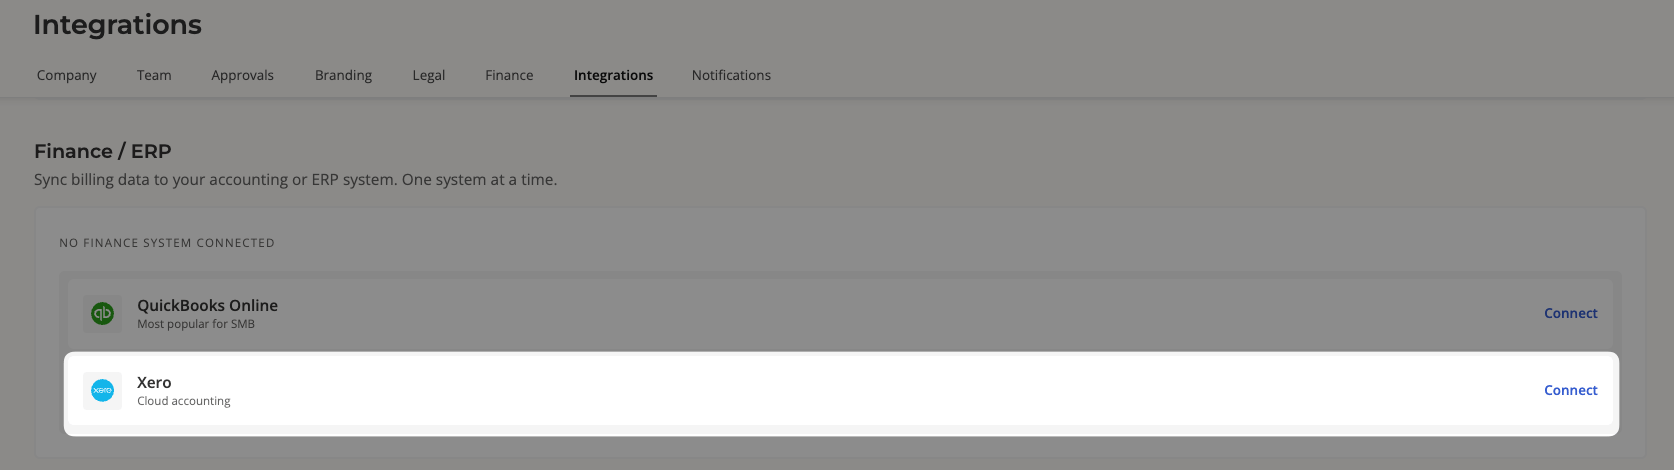
2
Choose Xero
Click Connect on the Xero option. This opens the Xero integration page.If the option shows Contact us instead, Xero hasn’t been enabled for your account yet. Reach out to Salesbricks Support to have it turned on.
3
Start the connection
Click Connect to Xero. You’ll be redirected to Xero to sign in.
4
Authorize Salesbricks in Xero
Sign in and allow access to the organization you want to sync.Salesbricks uses an OAuth connection to Xero, so your username and password are never stored by Salesbricks. The connection requests access to your contacts, invoices, payments, and organization settings.
5
Confirm the connection
You’ll land back on the Xero page in Salesbricks with a Connected tag. Your integration is complete.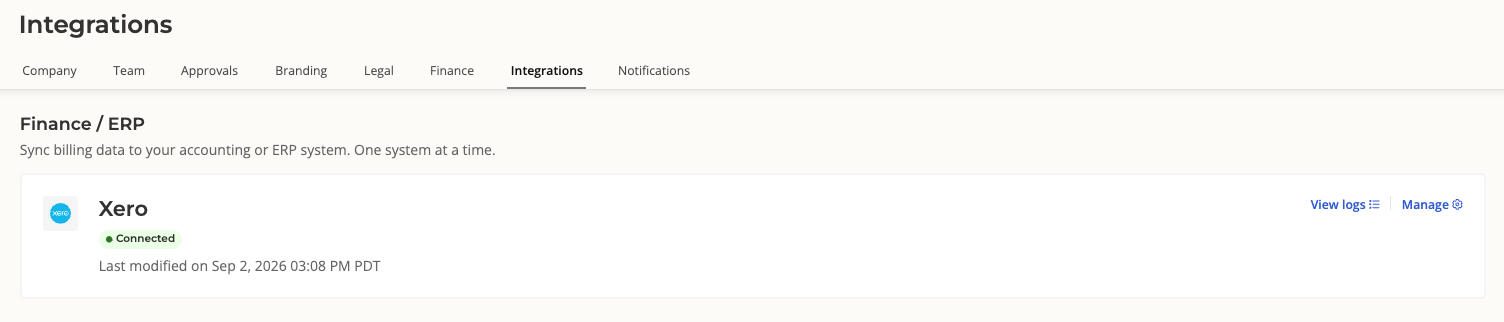
What Salesbricks configures for you
The first time you connect, Salesbricks reads your Xero chart of accounts and seeds a working configuration so invoices sync without any manual setup:These defaults are only applied on a first-time setup. Reconnecting later never overwrites choices
you’ve made.
Managing the connection
Open the actions menu on the Xero card in Settings -> Integrations -> Xero -> Manage:
Choose View logs on the Xero card in the integrations list to see every sync attempt, including anything that was skipped and why.
Troubleshooting
Start with View sync logs on the invoice, or View logs on the Xero card in your integration settings. Skipped syncs are recorded there with the reason.Invoice not synced
Invoice not synced
Payment not synced
Payment not synced
Line items aren't mapped to Xero items
Line items aren't mapped to Xero items
Tracking categories aren't applied
Tracking categories aren't applied