Overview

Salesbricks’ Magic Links can be used to quickly and easily power the call-to-action buttons within your pricing page.

This allows your self-serve / product-led growth (PLG) buyers to check out with Salesbricks.
Implementation

1

In Salesbricks, create and publish your pricing and packaging (Bricks, Products, & Plans).

You can find details about that process here.

2

Navigate to Settings -> Integrations and click the Magic Links card.

If you haven’t already built a tailored pricing page on your website, we recommend doing that first, then revisiting this page to have Salesbricks power the buttons of your pricing cards.

3

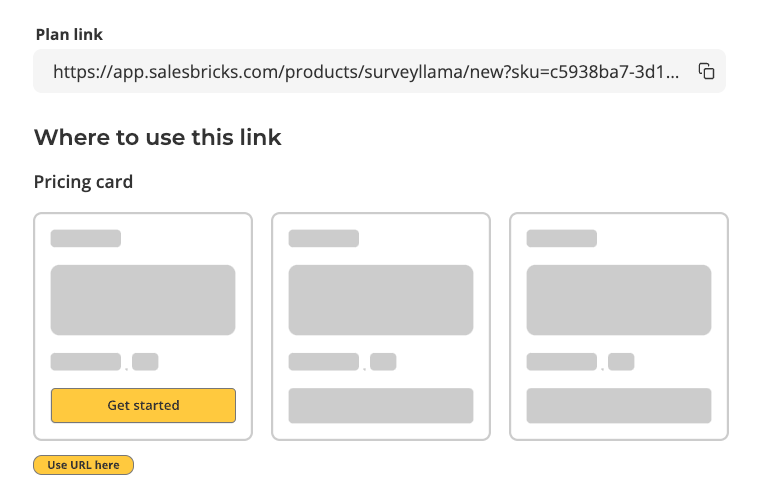
Locate the Salesbricks Plan you want to embed onto your pricing page.

Copy the Magic Link for that Plan and embed it onto your pricing page.

When a customer clicks this link on your pricing page, they will be directed to a checkout flow for that Plan in Salesbricks.

Tracking a Buyer’s Activity

In the event that you already know the identity of a user checking out with Salesbricks (e.g. if they’re on a free trial of your app and already have a login), you can leverage the checkout redirect URL (along with the metadata parameters below) to track when that user has checked out.

1

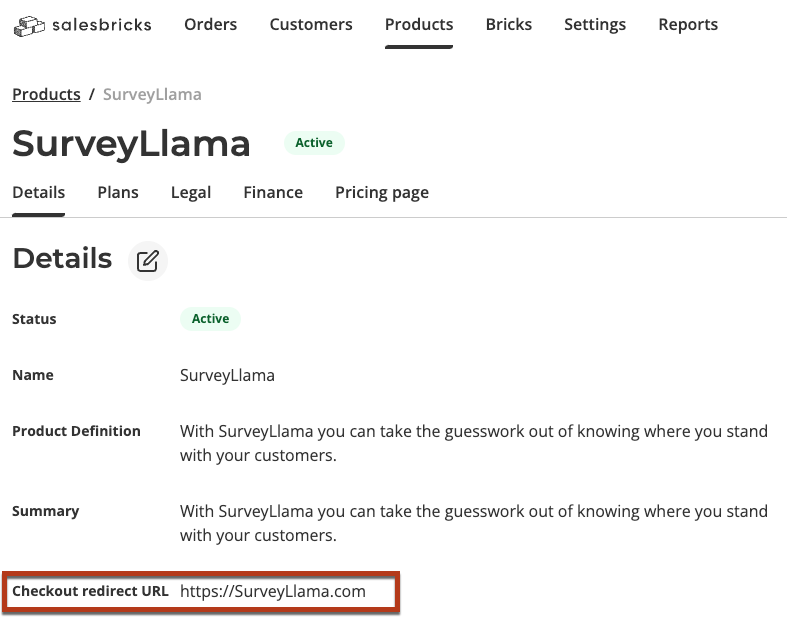
Set the checkout redirect URL to a site that you own and can read the URL when the customer checks out.

Go to Products -> click on your Product -> click the Details tab.

Here, you can add or edit your checkout redirect URL.
2

Add your identifier to the end of any Magic Link in this format:

<magicLink> + &meta_attributionId=<yourUserIdentifier>.

The URL should look something like this:

https://app.salesbricks.com/products/surveyllama/new?sku=c5938ba7-3d11-439d-ba82-7f764e01cc6f&meta_attributionId=ID123456

Upon checkout, Salesbricks will redirect the user to your specified URL, attaching your identifier to the end of the URL in this format: attributionId=ID123456.

The URL parameter will also be included in any webhooks triggered, under the field name metadata.