Overview
- Update your company settings
- Integrate your Stripe account
- Select your customers’ payment options
- Set up pricing & packaging
1. Update your company settings
a. In Salesbricks, go to Settings. b. Complete the following sections:- Company (set company details & contact info)
- Team (add users & define roles)
- Branding (upload company logo & set brand color)
- Legal (upload terms & set document signer)
- Finance (provide banking info & set payment options)
Why your company settings matter

2. Integrate your Stripe account
a. In Salesbricks, go to Settings -> Integrations. b. Click Stripe and follow the prompts on screen (along with our detailed setup guide) to create a Stripe Connected account.Why your Stripe integration matters

3. Select your customers’ payment options
a. In Salesbricks, go to Settings -> Finance. b. Click the Edit icon and select the payment options you want to enable for checkout (customer purchase), as well as how your customers can pay an invoice.Why your customers’ payment options matter
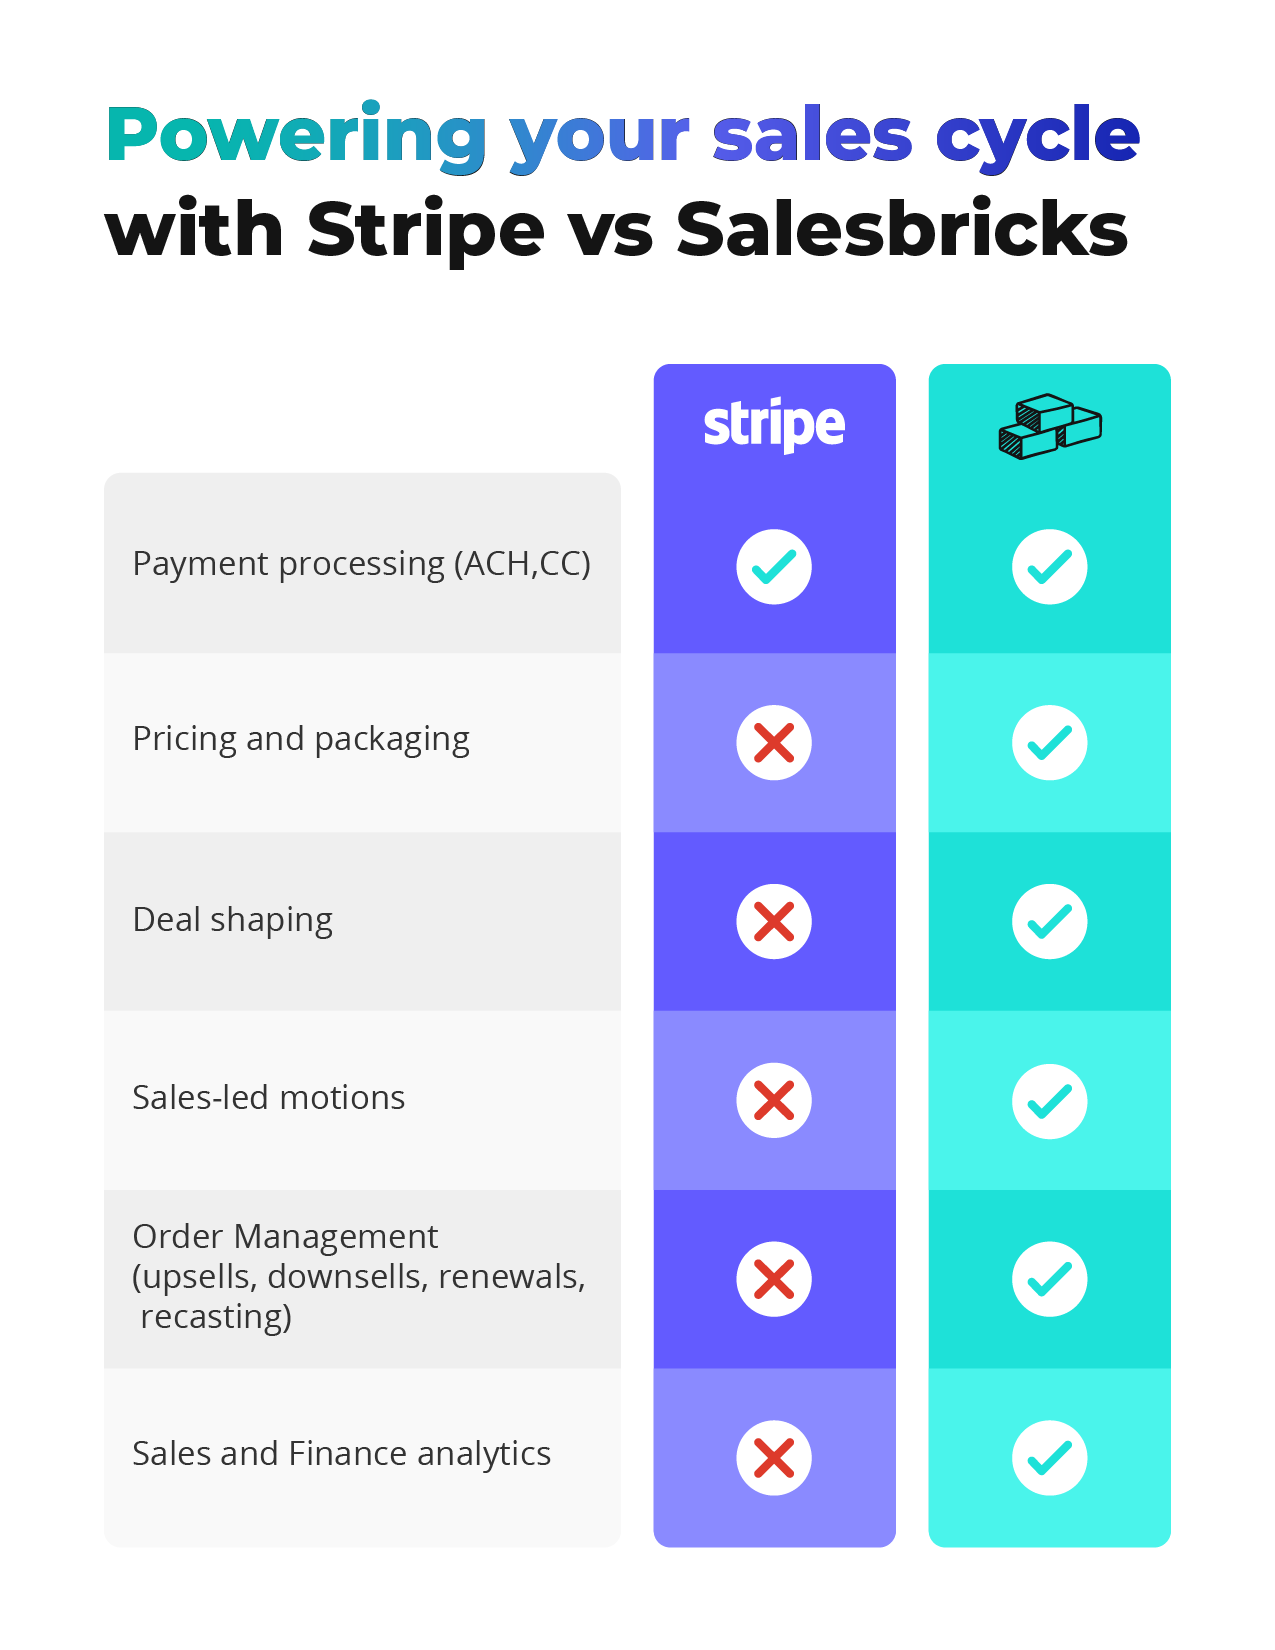
Now that your Stripe account is integrated, you can enable secure, instant transactions online by allowing your customers to pay via credit card or ACH debit.4. Set up pricing & packaging
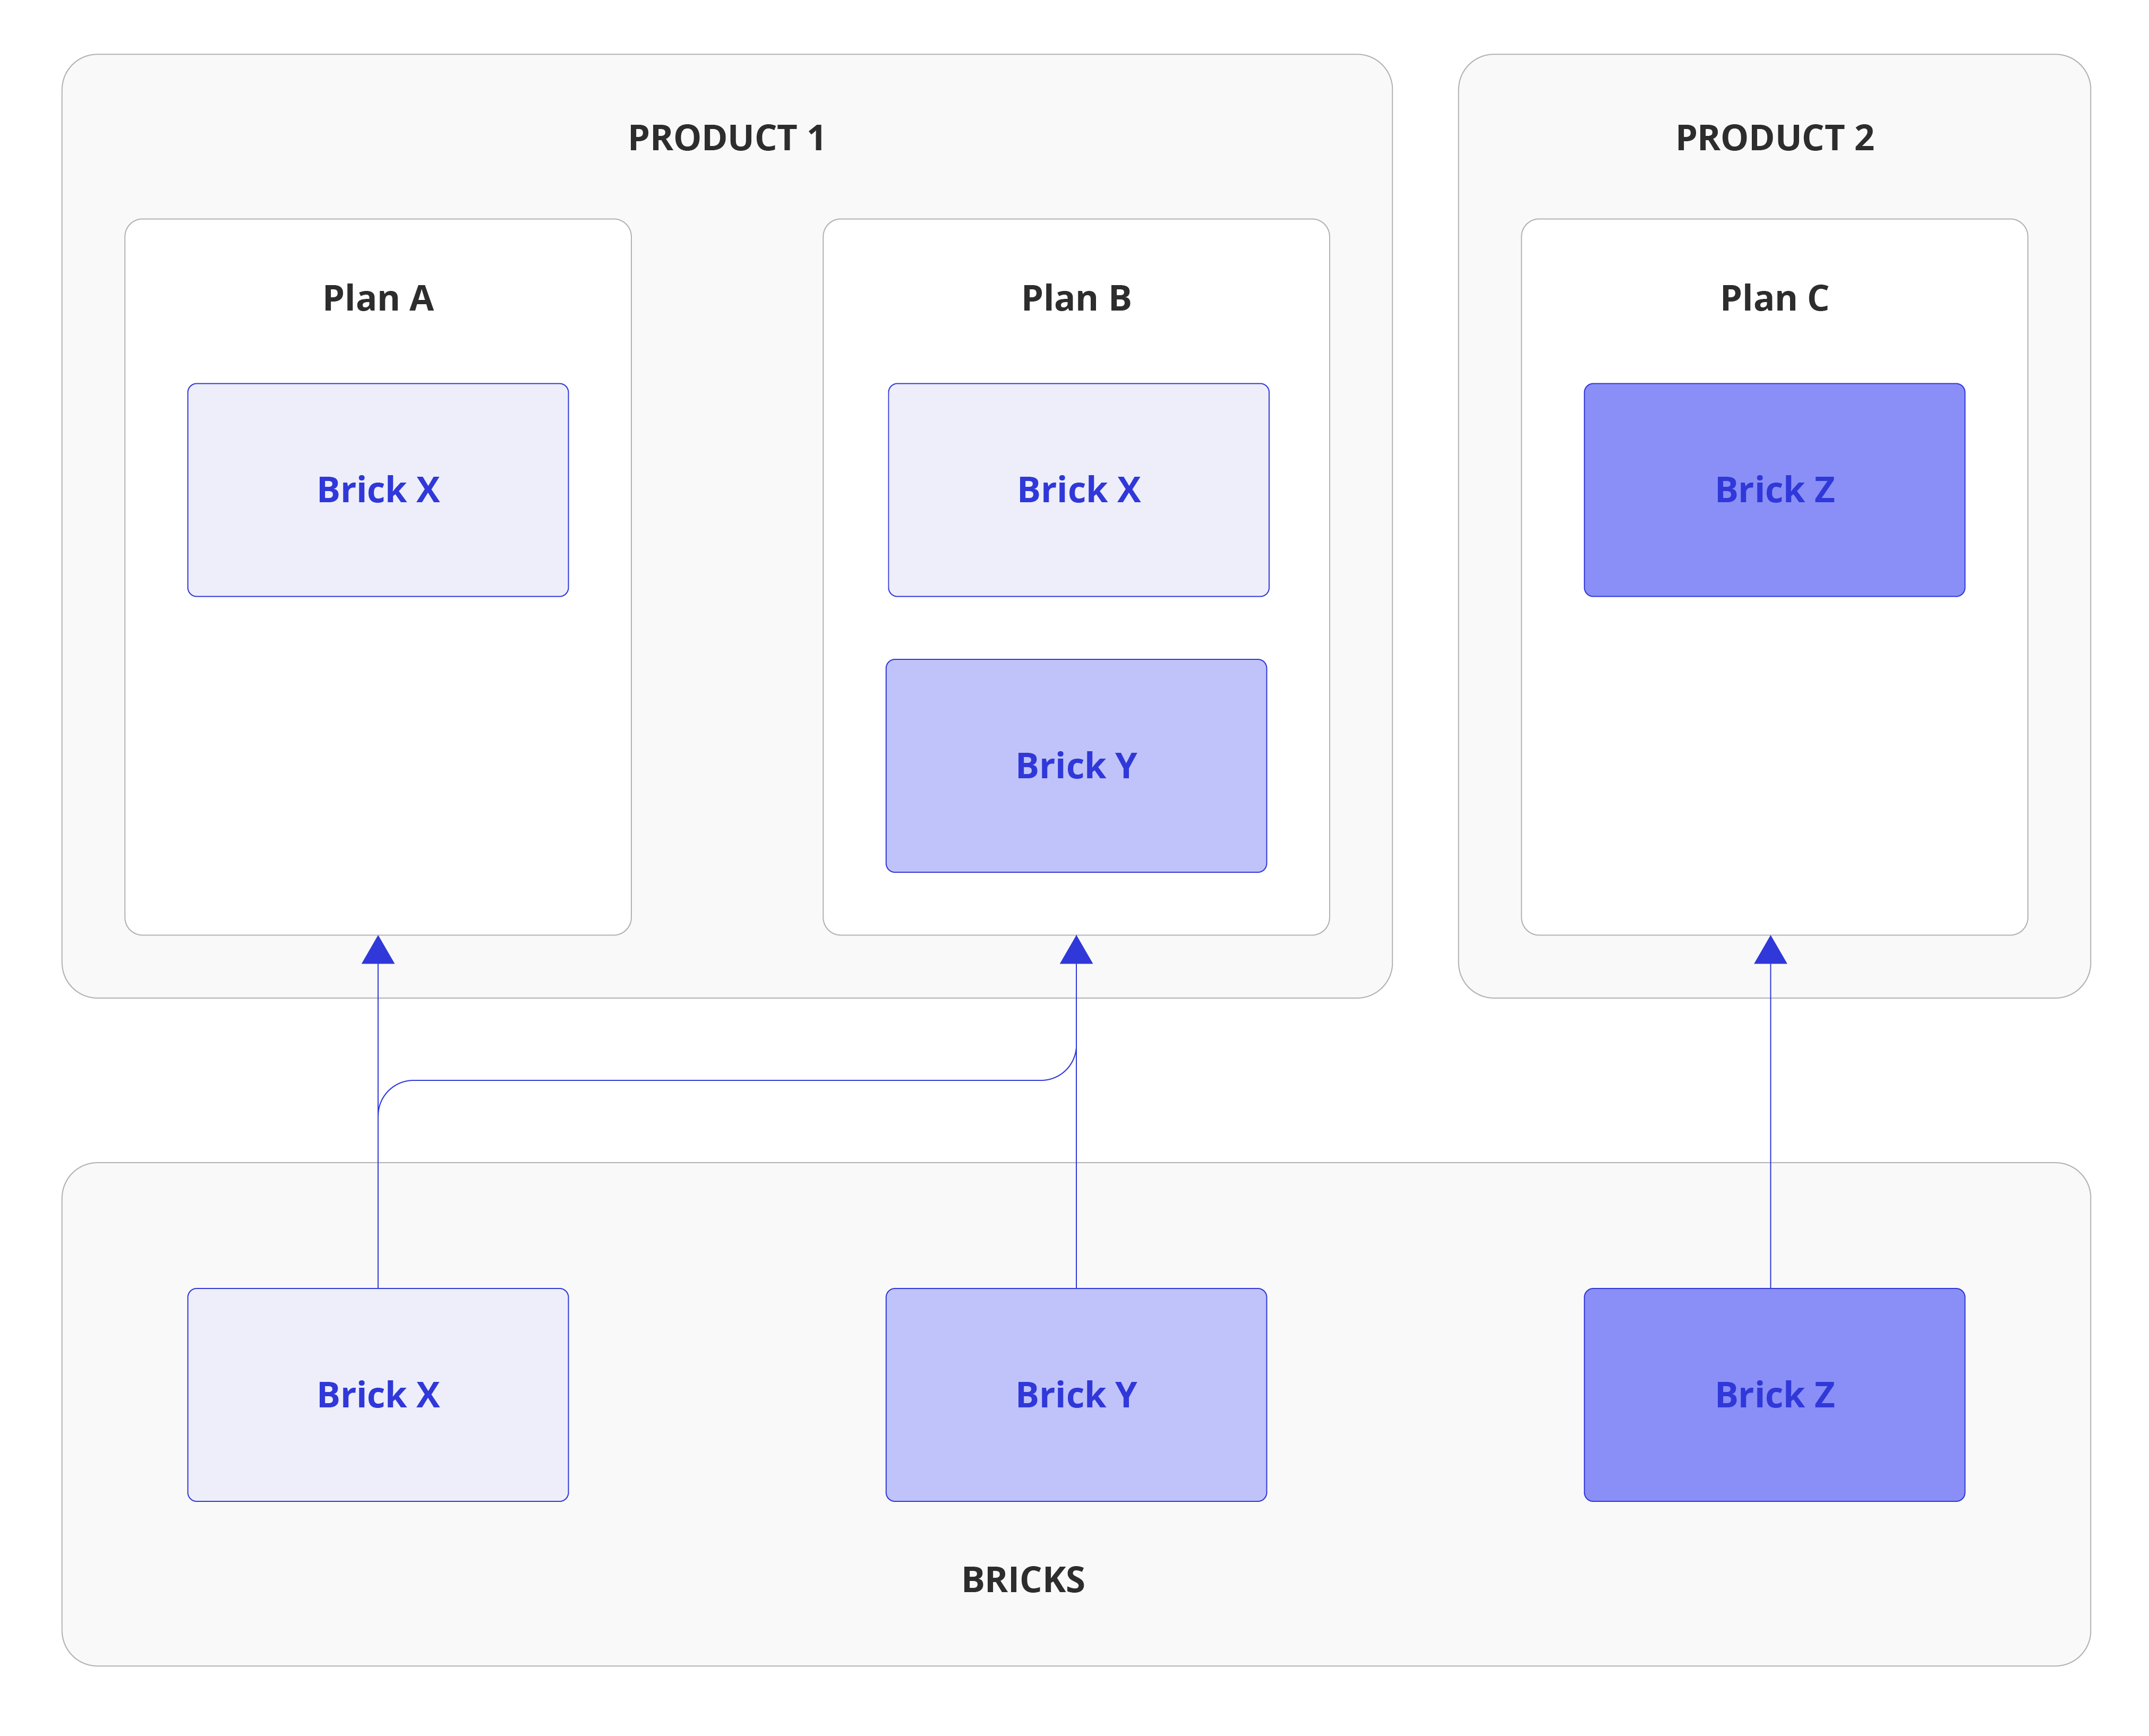
a. In Salesbricks, go to Products. b. Create a product.Read our guide on creating a product:
Read our guide on creating a plan:
Read our guide on creating a brick:
Why pricing & packaging matters

Next Steps
Once you complete these steps, you’ll be ready to hit the ground running and start managing deals on Salesbricks. You could use this opportunity to continue connecting other integrations:CRM
CRM
Currently, we support integration with Salesforce or HubSpot.
Why your CRM integration matters
Integrating your CRM will enable you to quote and close orders in Salesbricks, and allow the order data to sync across both systems for org-wide visibility and continuity.Slack
Slack
Click here to start setting up your Slack integration.
Why your Slack integration matters
Our Slack integration allows your sales, leadership, finance, and customer success teams to stay updated on order and subscription progress in real-time. Getting notifications directly within Slack accelerates your communication cycles, and helps your teams respond faster to changes.Quickbooks
Quickbooks
Click here to start setting up your Quickbooks integration.